No-till gardening mimics nature's way of building soil—from the top down. By eliminating digging and tilling, you protect soil structure, encourage beneficial organisms, and reduce your workload while growing healthier plants.
Why No-Till?
- Protects soil life: Preserves fungal networks and earthworm tunnels
- Reduces weeds: Doesn't bring buried weed seeds to surface
- Saves water: Better soil structure holds more moisture
- Less work: No annual tilling or double-digging
- Carbon storage: Keeps carbon in soil instead of releasing it
- Better nutrition: Healthier soil grows more nutritious food
Starting a No-Till Garden
Method 1: Sheet Mulching (Lasagna Gardening)
Build a new garden bed right over grass or weeds:
- Mow or stomp: Flatten existing vegetation
- Cardboard layer: Overlap cardboard, wet thoroughly
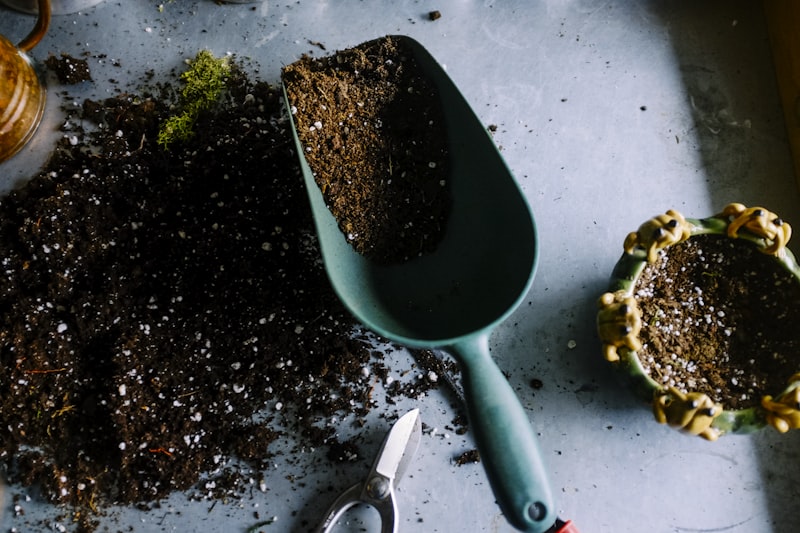
- Compost layer: 2-4 inches of compost
- Mulch layer: 4-6 inches of straw, leaves, or wood chips
- Wait or plant: Wait 6 months, or plant immediately in compost pockets
🍂 Free Materials
Collect cardboard from stores, leaves from neighbors in fall, and wood chips from tree services. Most no-till materials can be obtained for free with a little effort!
Method 2: Deep Mulch
For existing gardens, simply stop tilling and start mulching:
- Add 4-6 inches of organic mulch (straw, leaves, wood chips)
- Replenish as it breaks down
- Plant through mulch into soil below
- Pull weeds rather than cultivating
No-Till Maintenance
Annual Routine
- Fall: Add 2-4 inches of compost on top
- Winter: Cover with mulch or cover crops
- Spring: Pull mulch back to warm soil, then replace
- Throughout: Add more mulch as it breaks down
Planting in No-Till Beds
Transplants
Push aside mulch, dig small hole in soil, plant, and pull mulch back around stem (leaving a gap at the stem itself).
Direct Seeding
Create furrows by pushing mulch aside. Plant seeds in exposed soil. Cover lightly. Once established, push mulch closer.
Common Concerns
Won't Slugs Love All That Mulch?
Initially, possibly. But no-till gardens also attract slug predators (ground beetles, toads). Balance usually comes within a season or two.
What About Compacted Soil?
Use a broadfork for initial loosening without inverting soil. After that, roots and soil life will do the work. Avoid walking on beds.
Results to Expect
- Year 1: Similar yields, fewer weeds
- Year 2-3: Improved soil structure, less watering
- Year 3+: Dramatic improvement in soil life, plant health, and yields
💬 Comments 0
🔐 Sign in with Google to join the conversation!